

Neither light on a garage door sensor is supposed to be green, since one unit shows an amber or red power light, while only the other shows green to confirm alignment. That distinction catches a lot of people off guard, since the assumption is usually that matching colors means everything is working correctly.
Garage door sensor lights work in pairs, and each color indicates a specific meaning tied to either power or beam alignment along the door’s path. Recognizing what each light is meant to show is often the first step in garage door repair, since it indicates whether the sensors need cleaning, realignment, or a closer look at the wiring.
What Do Garage Door Sensor Lights Mean?

Garage door safety sensors work as a pair, with one unit emitting an invisible infrared beam and the other receiving it along the door’s path to confirm that nothing is blocking the way before the door closes.
Here is what each light on the sensor pair means:
| Sensor Unit | Typical Light Color | What It Confirms |
| Sending Sensor | Amber, yellow, or red | The unit has power and is active |
| Receiving Sensor | Solid green | The beam from the sending unit is reaching it without interruption |
| Mismatched Colors | Different colors on each unit | Normal, since each unit is built to show a different color |
To understand why these two lights shift color in the first place, read our guide on Common Causes of Color Changes in Garage Door Sensor Lights, which covers the most frequent reasons the colors change.
Common Garage Door Sensor Light Colors and What They Indicate
Solid Green Light on the Receiving Sensor
A solid green light on the receiving sensor confirms that the beam is aligned and passing through without any signal break.
Steady green output on the receiving unit lines up with the following signs:
- The light holds steady without flickering through a full open-and-close cycle.
- The opposite sensor keeps its own steady color at the same time.
- Closing attempts finish without the door reversing partway down.
- Light output stays constant even after a light bump to the door.
- Repeated cycles produce the same steady result without variation.
Running the door through several cycles gives a dependable read on whether the sensor is holding its alignment.
Blinking or Off Green Light on the Receiving Sensor
Loss of a steady beam connection between the two sensor units often shows up as a green light that blinks or shuts off entirely.
Watch for the following clues once that connection starts to drop:
- The light cuts out the moment an object crosses near the sensor.
- Closing cycles stop midway while opening cycles continue without issue.
- Flickering happens even with a fully open path between units.
- Adjusting the sensor angle briefly restores a steady green light.
- Dust buildup on the lens produces the same blinking pattern over time.
Small adjustments to the sensor’s position and the surrounding area often bring the green light back without needing any tools.
Amber or Red Light on the Sending Sensor
An amber or red light on the sending sensor confirms power rather than beam alignment across the door’s path.
The following signs come with this type of power indicator:
- The light stays on at a steady brightness regardless of the door’s position.
- Unplugging the opener turns the light off right away.
- Color has no bearing on whether the beam reaches the receiving side.
- A dim or weak glow can point to a power supply issue.
- The light behaves the same whether the garage is dark or lit.
Confirming steady output on this light rules out power as the source of the problem, though an aging opener may eventually need garage door replacement instead.
Flickering Amber or Red Light on the Sending Sensor
A loose wire near the base of the sending sensor often shows up as a flickering amber or red light rather than a steady one.
A handful of details tend to show up alongside this flicker:
- The light flickers without any pattern tied to door movement.
- Briefly tapping the sensor housing changes the flickering behavior.
- The receiving sensor continues to function normally despite the flicker.
- Flickering increases after vibration from the nearby door use.
- The pattern returns even after a brief period of steady light.
Tightening the wiring connection often resolves the flicker, though a sensor wired incorrectly during garage door installation may need a closer look.
No Light on Either Sensor
No light on either sensor usually points to a power interruption somewhere between the breaker box and the opener unit.
Several signs typically accompany this kind of power loss:
- Neither sensor lights up even after unplugging and replugging the opener.
- The opener fails to respond to the wall button at all.
- A tripped breaker lines up with the sensors losing power.
- Damaged wiring near the sensor brackets often accompanies the outage.
- Both units stay dark even when other electrical outlets nearby work fine.
Checking the breaker box first saves time, and if power is confirmed but both sensors stay dark, the situation often calls for emergency garage door repair.
Signs Garage Door Sensor Lights Need Attention
A garage door often shows behavioral changes before a sensor fully fails, and catching those changes early can prevent a bigger inconvenience.
These behaviors tend to show up first when sensor lights need attention:
- Reversing on its own partway through closing without any object in its path.
- Refusing to close at all despite repeated attempts with the wall button.
- Flickering or blinking indicator lights instead of a steady color during normal use.
- An opener light that blinks in a pattern different from its usual behavior.
- Stopping partway through closing as if something invisible is blocking the path.
To confirm whether these behaviors indicate a misalignment issue, read our guide on Signs of Misaligned Garage Door Sensor Lights, which walks through the visual cues that point to a bracket or angle problem.
Common Causes of Garage Door Sensor Light Issues
Garage door sensor light issues almost always trace back to something around the sensors rather than a major mechanical failure.
A handful of common culprits tend to show up again and again:
- Misalignment after a bump from a car, a stored item, or a shifted bracket.
- Dirt, moisture, or small debris sitting on the sensor lens.
- Spider webs and cobwebs building up in garages that sit unused between trips.
- Loose connections at the base of either sensor interrupting the signal.
- Rodents chewing through the wiring near the sensor brackets.
Gainesville’s humidity often speeds up these same issues by settling on the lens or working into loose wiring, which makes pinpointing the cause the key to a quick fix.
How to Troubleshoot Garage Door Sensor Lights
A handful of basic checks can resolve most sensor light issues on the spot without needing any tools or electrical work.
These simple troubleshooting steps cover the most common fixes:
- Wipe both sensor lenses with a soft cloth to remove dust, moisture, or small debris.
- Check the sensor angle on each unit to confirm that both face each other directly.
- Clear trash cans, tools, or stored items sitting along the door’s path.
- Confirm the brackets holding each sensor are tightened and have not shifted.
- Try a simple reset by unplugging the opener for about thirty seconds before testing again.
To determine whether these checks point to a wiring issue rather than alignment, read our guide on What to Inspect When Garage Door Sensor Lights Change Color, which covers the inspection points that distinguish one cause from the other.
When to Call a Professional for Garage Door Sensor Repair
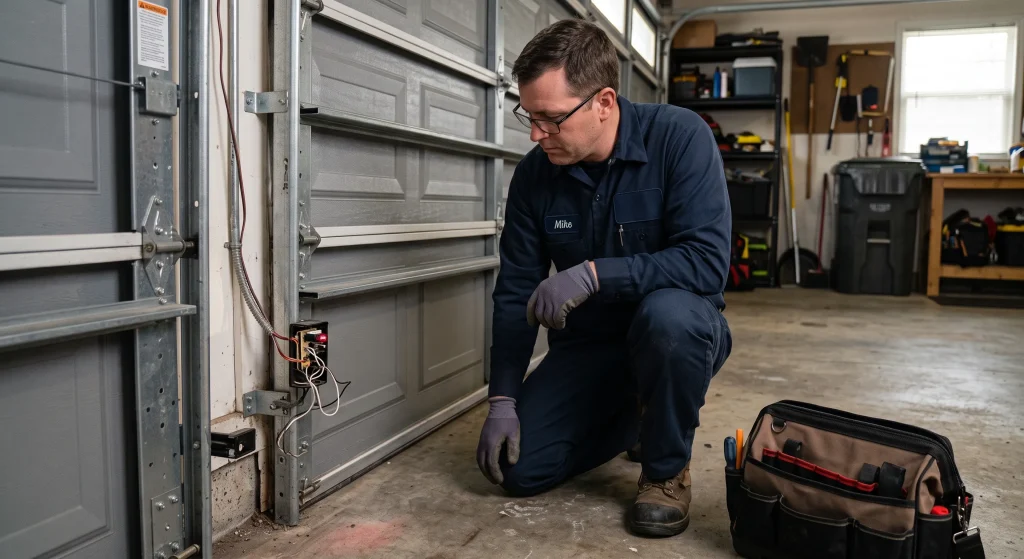
Sensor issues that go beyond basic cleaning or alignment usually call for a trained technician instead.
Signs it may be time to call in a professional:
- Photo eyes that show physical damage or cracking on the housing.
- Wiring that runs through the wall rather than a simple exposed connection.
- An opener unit showing signs of malfunction inside its control board.
- Basic troubleshooting steps that fail to resolve the issue after multiple attempts.
- Sensor repair cost estimates vary based on parts and labor involved.
A technician can confirm whether the issue lies with the sensors alone or points to a bigger problem with the opener.
Solid Green Lights on Both Sensors Confirm a Working Garage Door
Garage door sensor lights give a quick way to check whether the door is operating correctly, and knowing what each color means removes most of the guesswork. Wiping down a sensor lens or checking for a shifted bracket takes only a few minutes and often gets both lights back to where they should be.
Alachua Door Company has helped many households in Gainesville get their sensor lights back to a proper green reading, from a simple lens cleaning to a full bracket adjustment. Contact us or give us a call today, and let a technician confirm what each sensor needs to work the way it should.
Frequently Asked Questions
What does it mean when the garage door sensor light stays off?
No light on a sensor typically points to a power or wiring issue rather than an alignment problem. A loose connection or a unit that has lost power from the opener is the most common cause.
How do I reset the garage door sensor lights on my opener?
Yes, a basic reset can often restore the sensor lights to normal. Unplugging the opener for about thirty seconds and then plugging it back in clears out any temporary glitch affecting the garage door safety sensor without requiring any tools.
How can I tell if my garage door’s sensor lights are working correctly?
Correctly working sensor lights show a solid green light on the receiving unit and a steady amber or red light on the sending unit. If either light flickers, blinks, or stays off, the sensors are likely not functioning properly.
What causes garage door sensor lights to stop working?
Common causes include dirt or moisture on the lens, a bracket that has shifted and caused misalignment, or a loose wiring connection near the sensor base. Rodents chewing through wiring is another cause that often gets overlooked.
How do I troubleshoot and fix issues with garage door sensor lights?
Basic troubleshooting starts with cleaning both lenses and ensuring the sensors are aligned directly with each other. If the lights still act up after these steps, the issue may need garage door sensor repair from someone with more experience.
How do I replace faulty garage door sensor lights?
Replacing a sensor typically involves disconnecting the wiring from the old unit and attaching the same wires to the new one before adjusting the alignment. This process involves small electrical connections, so many households choose to have a technician handle it.
Are there differences between the sending and receiving garage door sensor lights?
Yes, there are differences between the two units. The sending sensor shows a light confirming power, while the receiving sensor shows a green light confirming it is receiving the beam from the other side.
How much does it usually cost to repair garage door sensor lights?
Garage door sensor repair cost depends on whether the fix involves a simple lens cleaning, a full sensor swap, or wiring work. Minor repairs tend to cost less, while issues involving both units or extensive wiring can raise the total.
What safety features do garage door sensor lights provide?
Garage door sensor lights are part of a system designed to stop the door from closing on a person, pet, or object in its path. This feature has become a standard part of residential garage door openers for decades.


