Garage door sensor lights require a full check of the lenses, alignment, and wiring whenever their color suddenly changes. This shift rarely occurs without a specific cause, and knowing what to inspect first can prevent a minor issue from becoming a repair that takes more time and costs more money.
Garage door repair often traces back to these two small sensors before any other part of the opener is examined. The alignment, wiring, and condition of each sensor all play a role, and understanding what to look for turns a confusing blinking light into a problem with an identifiable cause.
What Do the Different Garage Door Sensor Lights Mean?
Garage door sensor lights change color to communicate exactly what is happening inside the safety system at any given moment, and each color combination reflects a specific condition rather than a random glitch.
Common meanings behind these color changes include:
| Sensor Light Color | What It Typically Means |
| Steady green on both sensors | The infrared beam is connected without interruption |
| Amber or flickering light | The lens is blocked, dirty, or partially obstructed |
| One light staying off | A wiring or power issue exists on that side |
| Red light | The beam is broken due to misalignment |
| Alternating colors between sensors | A mismatch between opener brands or models |
To understand what a fully functioning sensor setup looks like before diving into what disrupts it, read our guide on Should Both Lights Be Green on Garage Door Sensors?, which explains what both lights working correctly actually indicate.
Common Causes Behind Garage Door Sensor Light Changes

Garage door sensor lights shift color for specific reasons, and each one disrupts the beam slightly differently.
Common causes behind these color changes include:
- Dust, spider webs, or small debris settling on the sensor lenses
- Sensor brackets that have been bumped out of alignment
- Loose or damaged wiring running to the opener unit
- Moisture buildup on the lens after rain or high humidity
- Rodents chewing through wiring near the sensor connections
To identify which of these causes matches the current color pattern, read our guide on Common Causes of Color Changes in Garage Door Sensor Lights, which breaks down the exact conditions behind each pattern.
What to Inspect When Sensor Lights Change Color
Cleaning the Sensor Lenses
Dust, pollen, and general buildup on the sensor lens can scatter the infrared beam before it reaches the opposite unit.
Buildup on the lens tends to follow a few familiar patterns:
- Cobwebs collect quickly in garages that stay closed for long stretches.
- A thin film of pollen coats both lenses during high pollen season.
- Water spots form after rain blows in through an open door.
- Light dust lifts easily with a soft, dry cloth wipe.
- Heavier grime responds well to a bit of mild soap and water.
Wiping both lenses during pollen season or after heavy rain helps prevent this issue from recurring and keeps the beam clear between cycles.
Checking Sensor Alignment
A sensor bracket only needs a slight bump to shift out of position, and even a minor angle change can break the beam between both units.
Misalignment tends to show up in a few recognizable ways:
- A parked bike or ladder leaning against the bracket nudges it out of place.
- Seasonal temperature swings cause slight shifts in the mounting bracket over time.
- One sensor points a few degrees lower than the other after a bump.
- A steady light returns the moment the bracket is nudged back into place.
- Tightening the mounting screws afterward keeps the bracket from drifting again during garage door installation.
To confirm whether a bump or shift is truly the cause of a color change, read our guide on Signs of Misaligned Garage Door Sensor Lights, which breaks down the specific signs that indicate a bracket is out of place.
Looking for Direct Sunlight Interference
Bright sunlight hitting the receiving sensor at a low angle can overpower the beam and mimic a wiring or alignment problem.
This kind of interference tends to follow the sun’s position throughout the day:
- Early morning sun lines up directly with east-facing garage doors.
- Late afternoon light causes the same issue on west-facing doors.
- The color returns to normal once the sun moves higher or lower.
- A small piece of cardboard taped near the lens blocks the glare.
- Cloudy days rarely produce the same flickering pattern.
Shielding the lens during the specific hours when sunlight aligns with the sensor keeps the beam steady without any other adjustments needed.
Inspecting the Wiring Connections
Wiring that runs from each sensor to the opener unit can loosen or fray, especially in garages where pests or moisture are common.
A few signs tend to point directly to a wiring issue:
- Chew marks near the wire suggest rodents have been active nearby.
- Staples pressed too tightly pierce the casing and expose the copper inside.
- Corrosion builds up at the terminal after years of exposure to humidity.
- A loose connection at the opener causes the light to cut out briefly.
- Reconnecting a loose wire often restores the light without further work.
Wiring this worn is sometimes only fully addressed during a garage door replacement, so a quick check after any pest activity is worth the time.
Power Cycling the Opener System
Unplugging the opener for about a minute clears a temporary glitch that sometimes shows up after a storm or power interruption.
A few situations tend to call for this step specifically:
- A recent power outage leaves the system in an unusual state.
- The lights flicker without any visible cause nearby.
- The door reverses even when the path is completely clear.
- The wall button responds more slowly than usual after the reset.
- A second power cycle sometimes clears what the first one missed.
If the door still will not respond after a reset, that is usually the point at which emergency garage door repair becomes worth calling in.
Why This Inspection Matters for Garage Door Safety
Garage door safety sensors stop the door from closing on a person, pet, or object in its path, giving this inspection more weight than it might seem.
A close look at the sensors protects against the following:
- A child or pet crossing the door’s path during a close cycle
- Property damage from a door closing on a parked car or stored item
- Delayed reaction time if the beam fails during regular use
- Increased strain on the opener from repeated failed close attempts
- A false sense of security from a sensor that looks fine but is not
Clean, aligned sensors give the entire safety system its best chance of doing exactly what it was built to do during every open-and-close cycle.
What to Do if the Inspection Does Not Solve the Problem
A sensor light that still will not hold steady after cleaning, aligning, and checking the wiring often points to an issue deeper inside the opener system itself.
A few paths are worth considering at this point:
- Corrosion inside the sensor housing that blocks a clean signal
- Software glitches within the logic board that misread a working beam as broken
- The wall button wiring has stopped communicating properly with the opener
- Damage to the main wiring harness is severe enough to need more than a reconnection
- Age-related wear inside the opener unit is affecting how it reads sensor input
Ruling out these possibilities helps determine whether the issue lies with the sensors, the opener, or the connection between the two.
When Does a Sensor Light Problem Need Professional Repair?
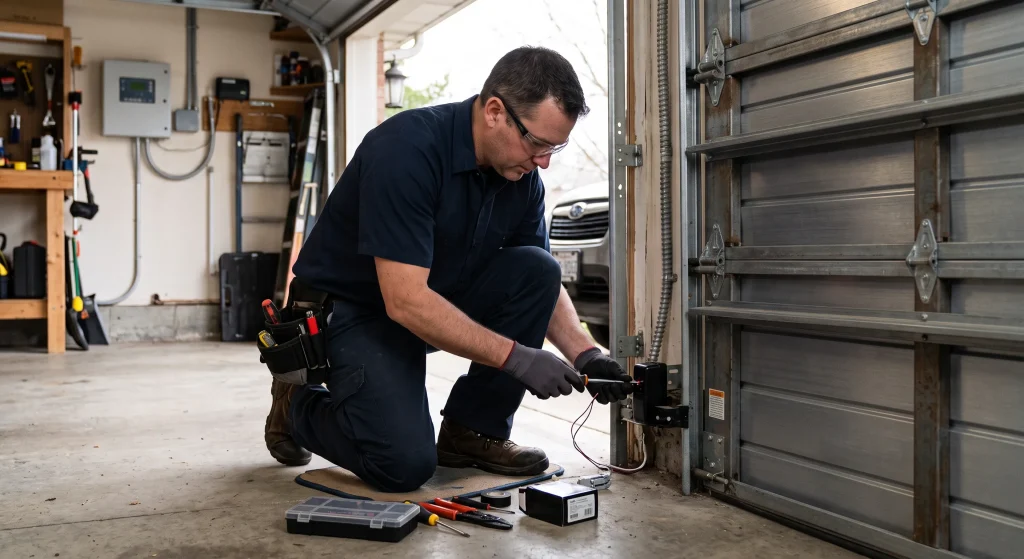
A sensor light problem crosses into professional territory when it involves electrical work or repeated resets that fail to resolve the pattern.
Professional repair tends to make sense in these situations:
- Exposed or damaged wiring near the opener or sensor connections
- A logic board or transmitter issue confirmed after basic troubleshooting
- Repeated flickering that returns shortly after each reset
- A sensor or opener component that needs replacement rather than adjustment
- Uncertainty about which part of the system is actually causing the issue
A technician can pinpoint the exact cause and provide an average cost estimate after inspecting the system in person.
Know What to Inspect When Sensor Colors Shift
Every color change in a garage door sensor light indicates something specific happening within the safety system, whether it starts at the lens or further down the line. Checking the lenses, alignment, and wiring in the right order helps pinpoint the exact cause before a minor issue grows into a bigger one.
Alachua Door Company has spent years diagnosing sensor issues for homeowners throughout Gainesville, FL, with the same attention to detail on every visit. Contact us or give us a call today, and let our team pinpoint exactly what the sensors need to hold a steady color again for the long run.
Frequently Asked Questions
Can a garage door still close if one sensor light is off?
No, most openers will not complete a close cycle if either sensor light is not confirming a connection. This is a built-in safety feature designed to prevent the door from closing without a working garage door safety sensor on both sides.
How often should garage door sensor lights be inspected?
Checking the sensor lights every few months helps catch small issues early. Garages with pets, frequent storage changes, or heavy dust tend to benefit from more frequent visual checks.
Can a garage door sensor light change color after a new opener installation?
Yes, a new opener can sometimes show a different light behavior until the sensors are properly paired. This usually settles once the installation is complete and the system has gone through a few full cycles.
Does the age of a garage door affect how often sensor lights need attention?
Yes, older doors and openers tend to need more frequent sensor checks. Wear on brackets, wiring, and mounting hardware builds up gradually and can affect how steady the sensor lights stay over time.
Is it possible for both sensor lights to look normal but still have a hidden issue?
Yes, a sensor can appear to be working while still experiencing intermittent issues. This is one reason garage door sensor repair sometimes uncovers an issue that was not obvious just from looking at the lights.
Can a garage door sensor light issue affect how loud the opener runs?
Not directly, sensor issues are separate from the mechanical noise an opener makes. A sensor light problem is more likely to affect whether the door closes at all, rather than how it sounds while running.
Should sensor lights be checked after moving items stored near the garage door?
Yes, items stored close to the sensor brackets can bump them out of place without anyone noticing right away. A quick check after rearranging storage helps confirm that the sensors are still aligned correctly.
Is there a way to tell if a sensor light issue is minor or something bigger?
A minor issue, like a dirty lens, usually resolves quickly with a simple cleaning. A bigger issue tends to involve the wiring or the opener itself, at which point the garage door sensor repair cost becomes a more relevant question to ask a technician.
Can a garage door sensor light problem come back after being fixed once?
Yes, a sensor issue can return if the underlying cause was not fully addressed. Rechecking alignment and wiring periodically helps prevent the same garage door sensor lights issue from repeating.